


Whether you are outsourcing your images to a private photo editor (like myself) or you invested in a new computer for your business moving your Lightroom Presets does not have to be daunting or scary!
Step 1: Locate your Lightroom Presets
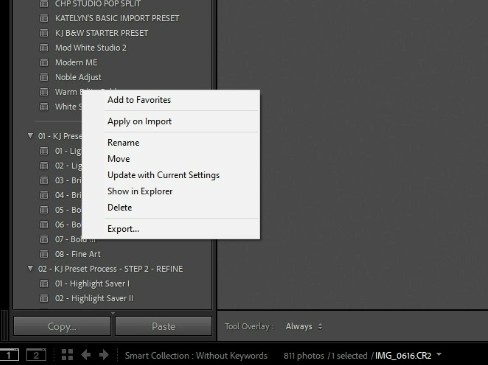
Locate your Lightroom preset files on your computer. The easiest way to do this is to right-click on one of your presets in the Develop Module and choose “Show in Explorer” (if you are on a PC) or “Show in Finder” (if you are on a MAC) from the options menu that appears.
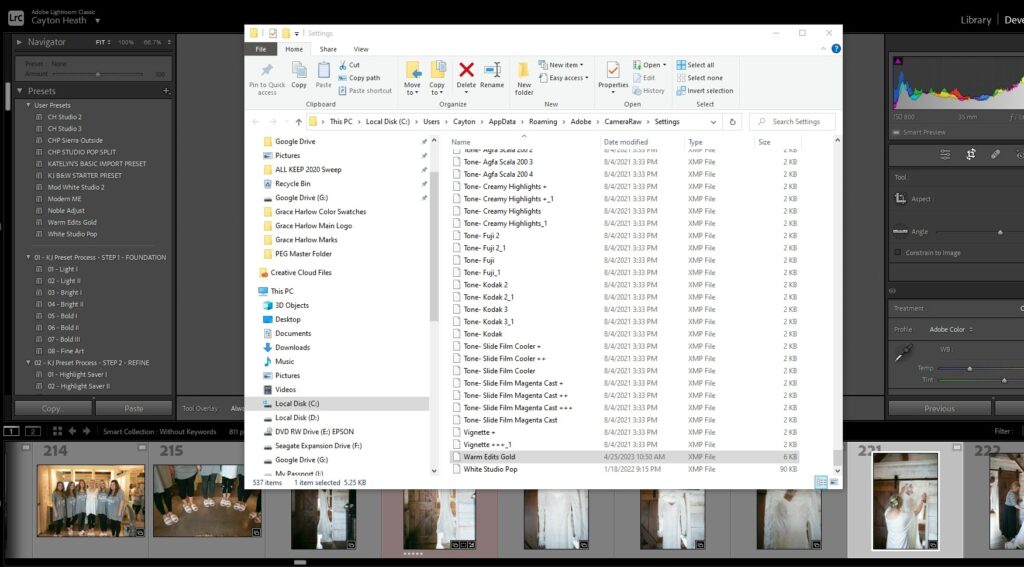
Depending on your operating system, they may be found within your folders but this method is a bit more time consuming. If you are interested in their exact location you can find them along this path:
On Windows, they are typically located in C:\Users[YourUsername]\AppData\Roaming\Adobe\Lightroom\DevelopPresets
On Mac, they are typically located in /Users/[Your Username]/Library/Application Support/Adobe/Lightroom/DevelopPresets/
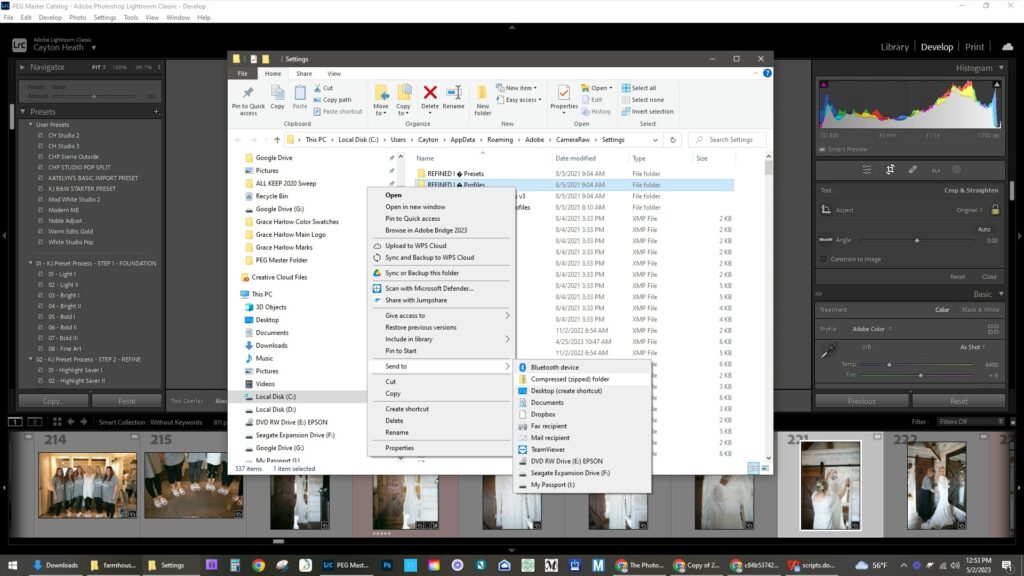
Step 2: Select and Compress your selected presets
Once you find your presets select the ones that you would like to send to your private editor and put them in a compressed zip folder.
Step 3: Send them to your private editor
Once you have your zipped folder I recommend renaming the zip with yourname_presets so your editor knows whose presets they were just sent! Your editor will provide you with detailed instructions and appropriate links on where to send your presets. Most likely you will send them to the same location you sent your ready to edit Lightroom Catalog to.
Its super easy and this extra step makes your outsourced editing experience all the more curated just for you and your unique style and brand!

Do you have more questions about outsourcing your editing? I’d love to help you out!! Shoot me an email here: editing@caytonheathphotography.com also follow on instagram.
Read latest post
